In today’s digital age, keyboards are essential tools for communication and productivity. However, their frequent use can turn them into breeding grounds for bacteria, dust, and debris, which can negatively impact both functionality and health. Recognizing the importance of maintaining a clean keyboard is vital, as studies indicate that keyboards can harbor more germs than a toilet seat. Therefore, regular cleaning is not merely a matter of aesthetics but a crucial aspect of hygiene.
This article examines the optimal methods for effectively cleaning a keyboard, focusing on techniques that are both safe and efficient. We will cover the types of cleaning agents, recommended tools, and disassembly techniques. Each method offers its own advantages and potential drawbacks. By adopting a systematic approach, users can ensure their keyboards remain in good working condition while minimizing the risk of illness.
As we explore various cleaning strategies, we will emphasize the importance of using appropriate materials and techniques to safeguard the delicate components of a keyboard. Our ultimate goal is to provide a comprehensive guide that empowers users to maintain a clean keyboard, thereby enhancing their overall computing experience.
Preparation for Cleaning a Keyboard
Before starting the cleaning process, it is essential to gather the necessary tools and understand the safety precautions required for effective and safe cleaning. Being well-prepared streamlines the process and helps prevent accidental damage to your keyboard.
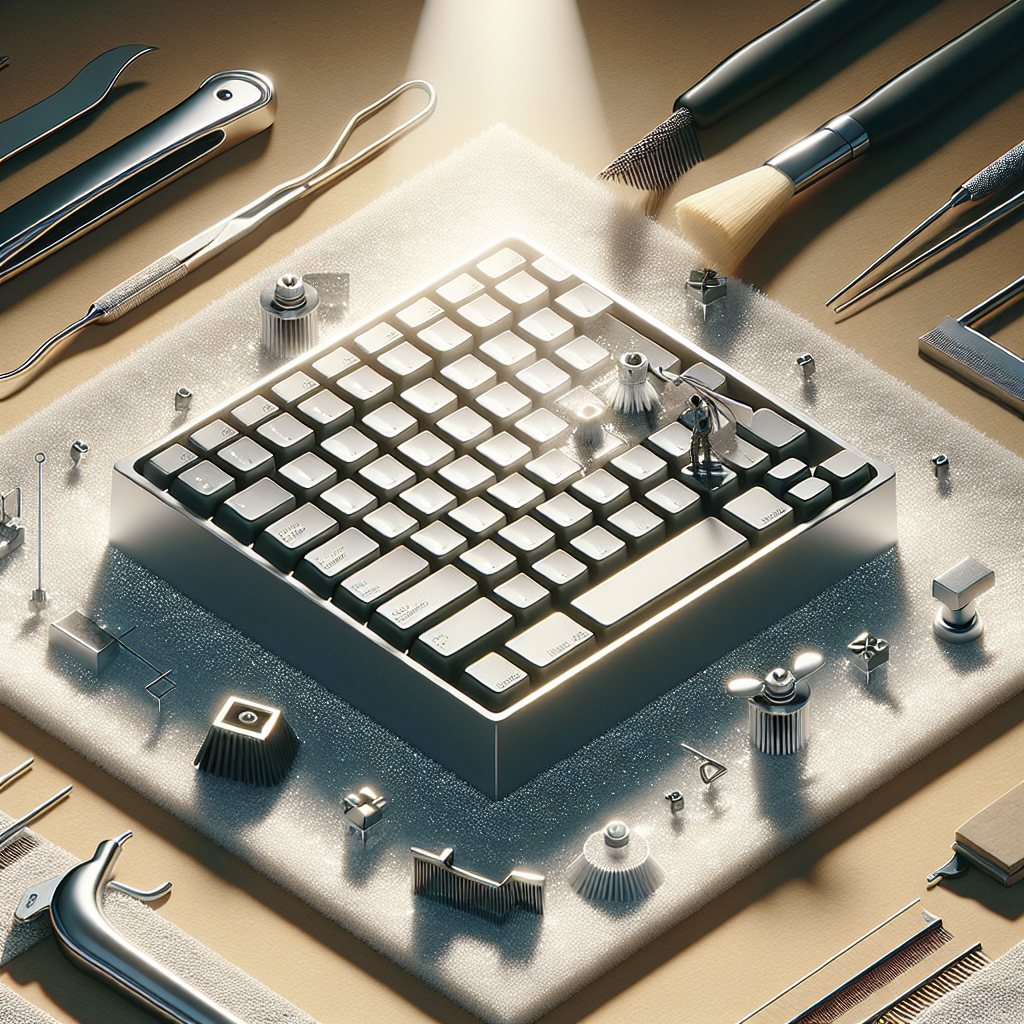
Necessary Tools and Supplies
Having the right tools at your disposal makes the cleaning process much more efficient. Here’s a list of recommended supplies:
- Compressed air canister: Ideal for dislodging dust and debris from between keys.
- Microfiber cloth: Perfect for gentle cleaning without scratching surfaces.
- Isopropyl alcohol (70% or higher): Effective for disinfecting surfaces while evaporating quickly.
- Soft-bristled brush: Useful for removing stubborn particles.
- Keycap puller (optional): Facilitates thorough cleaning by allowing for key removal.
Equipping yourself with these supplies ensures a comprehensive cleaning process that addresses even the most challenging debris.
Safety Precautions
While cleanliness is essential, safety should never be compromised. Following these precautions can help prevent accidents or damage during the cleaning process:
- Unplug the keyboard: Always disconnect your keyboard from the computer to avoid electric shocks or accidental key presses.
- Use gentle pressure: When using tools like compressed air or brushes, apply light pressure to avoid damaging keys or switches.
- Avoid excessive moisture: Ensure cleaning agents are applied to cloths, not directly on the keyboard, to prevent liquid seepage.
- Test cleaning agents: If using new cleaning supplies, test them on a small, inconspicuous area first to ensure compatibility.
By adhering to these safety measures, you can confidently proceed with your keyboard cleaning, ensuring both effectiveness and safety.
Step-by-Step Guide to Clean Keyboard
Achieving a pristine keyboard requires a systematic approach. The following sections will guide you through essential steps, ensuring that you not only remove surface debris but also perform a deep clean that addresses hidden grime and bacteria.
Removing Debris and Dust
To start, it’s crucial to dislodge any visible debris and dust that accumulate between keys, which can adversely affect functionality. Begin by flipping the keyboard upside down and gently shaking it to remove larger particles.
Next, use a compressed air canister to blow out dust and crumbs from nooks and crannies. Hold the canister upright and spray in short bursts, maintaining a distance of about 1-2 inches from the keyboard. This method is particularly effective for mechanical keyboards, where debris can obstruct the switches. For stubborn particles, a soft-bristled brush can gently sweep away remnants without damaging the keys.
Deep Cleaning Techniques
Once surface debris is cleared, it’s time for deeper cleaning. If your keyboard design allows it, consider using a keycap puller to remove individual keys, enabling a thorough cleaning of both the keycaps and the underlying surfaces. Before proceeding, refer to the keyboard’s manual to avoid damaging any components.
For cleaning, dampen a microfiber cloth with isopropyl alcohol and gently wipe each keycap and the surface beneath. Isopropyl alcohol is highly effective due to its rapid evaporation rate, minimizing moisture exposure. Ensure that no liquid seeps into the switches, as this can lead to long-term damage.
Finally, replace the keycaps carefully, ensuring they are aligned properly. Following these steps will not only enhance the cleanliness of your keyboard but also extend its lifespan, leading to a more enjoyable typing experience.
Maintaining a Clean Keyboard
After dedicating time to a deep clean, the next step is to establish a routine that keeps your keyboard in optimal condition. Maintaining a clean keyboard is not just about aesthetics; it significantly enhances the longevity and performance of this essential tool.
Regular Cleaning Schedule
How often should you clean your keyboard? A regular cleaning schedule can profoundly impact your keyboard’s hygiene and functionality. Ideally, a weekly maintenance routine is recommended, especially for those who use their keyboards frequently or share them in communal spaces. This routine should include a quick wipe-down with a microfiber cloth dampened with isopropyl alcohol to eliminate surface germs.
Additionally, a deeper clean every month—incorporating keycap removal and thorough cleaning of the underlying surfaces—is advisable. Following this schedule helps prevent the build-up of dust, food particles, and oils from fingertips, which can lead to sticky keys and compromised performance.
Tips for Preventing Build-Up
In addition to scheduled cleanings, proactive measures can significantly reduce the accumulation of dirt and grime. One effective strategy is to keep food and beverages away from your keyboard; a simple rule to follow is to snack at a distance, which minimizes the risk of crumbs and spills.
Moreover, consider using a keyboard cover when it’s not in use. This barrier can effectively shield against dust and spills, simplifying your cleaning efforts. According to a study by Environmental Science & Technology, using such protective measures can reduce contamination levels by up to 80%.
Finally, maintaining clean hands before typing can further prevent the transfer of oils and dirt to your keyboard. A quick wash or the use of hand sanitizers can significantly contribute to keeping your keyboard clean and functional.
Ensuring a Pristine Keyboard for Optimal Performance
In conclusion, maintaining a clean keyboard is essential not only for hygiene but also for enhancing the longevity and functionality of this vital tool. By equipping yourself with the right tools and adhering to safety precautions, you can effectively address the accumulation of dust, debris, and bacteria that often go unnoticed.
Implementing a systematic cleaning process—from removing surface debris to undertaking deep cleaning techniques—ensures that every nook and cranny is addressed. Furthermore, establishing a regular cleaning schedule and adopting preventive measures significantly reduces the likelihood of future build-up, creating a healthier workspace.
Ultimately, a clean keyboard is not just about appearances; it directly impacts your productivity and overall computing experience. By committing to these optimal cleaning methods and preventative practices, you empower yourself to enjoy a more efficient and pleasant interaction with your keyboard.